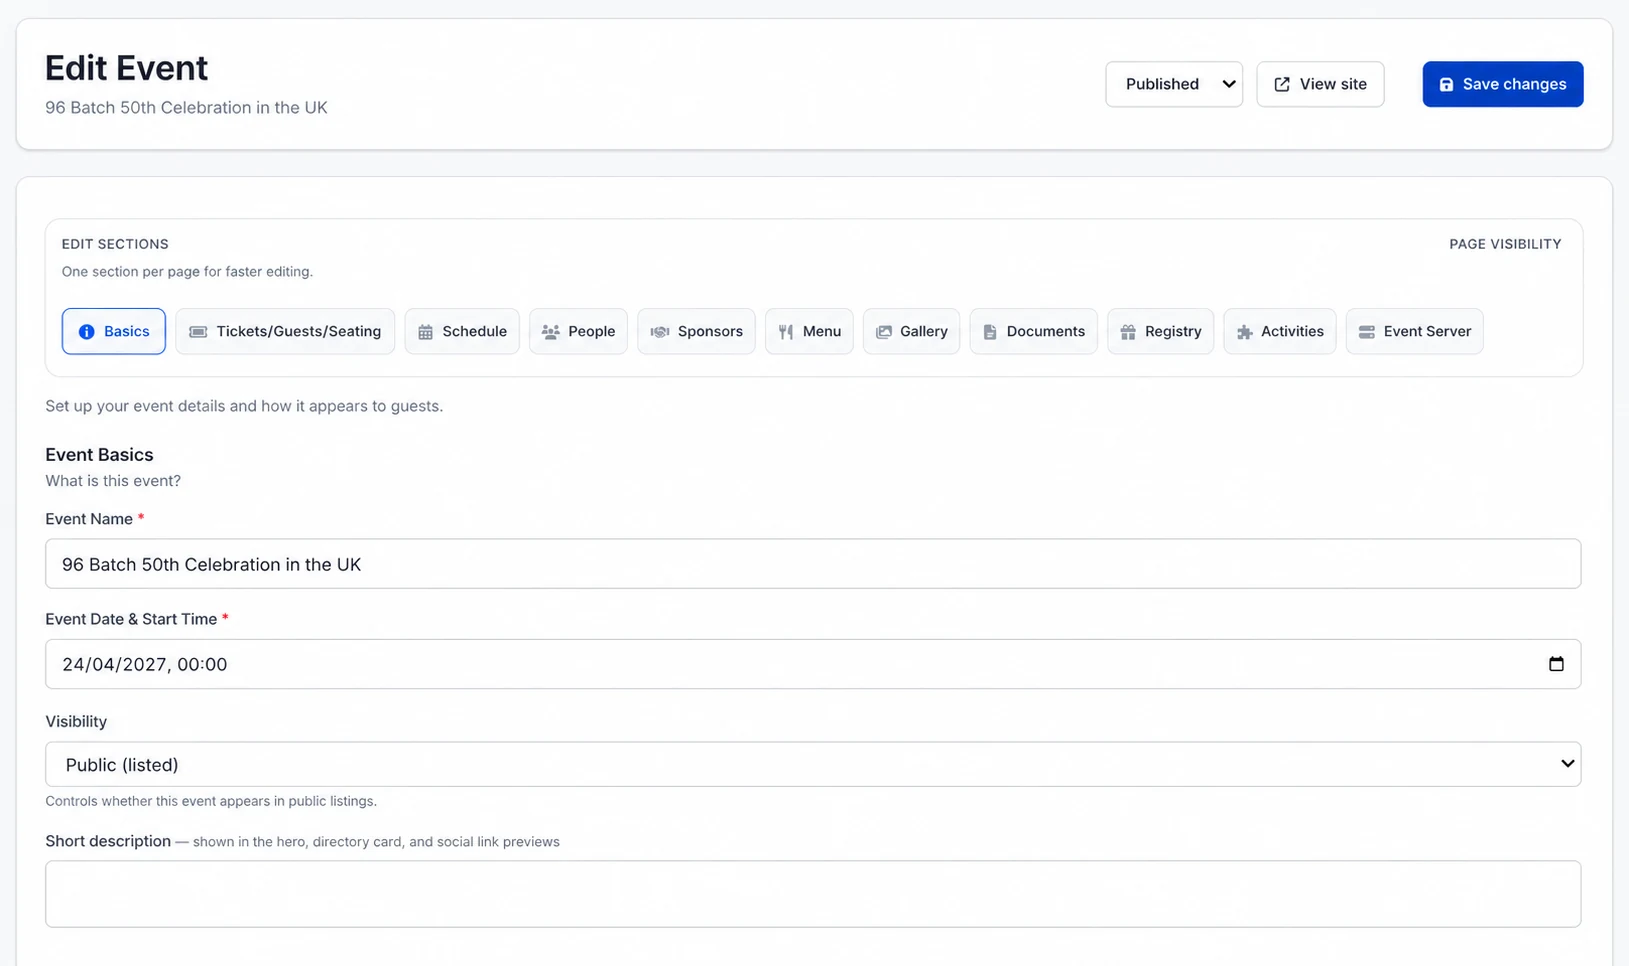
ShareLynk has two related menu experiences. Configure both when guests need to browse an event menu and make a food or drink choice during ticket checkout.
Understand the difference
- Linked public menu: a browsable event-site page containing courses and items.
- Checkout food choices: a short list shown once for every ticket in an order.
- Checkout drink options: optional paid additions, each with its own name, price, and optional image.
Create and link the public menu
- Open Dashboard → Menus → Create menu.
- Add a clear title and description.
- Create courses such as Starter, Main, Dessert, and Drinks.
- Add the items for each course and save the menu.
- Link the menu to the event during creation, or return to the event's Menu section and choose Link menu.
Add food choices to ticket checkout
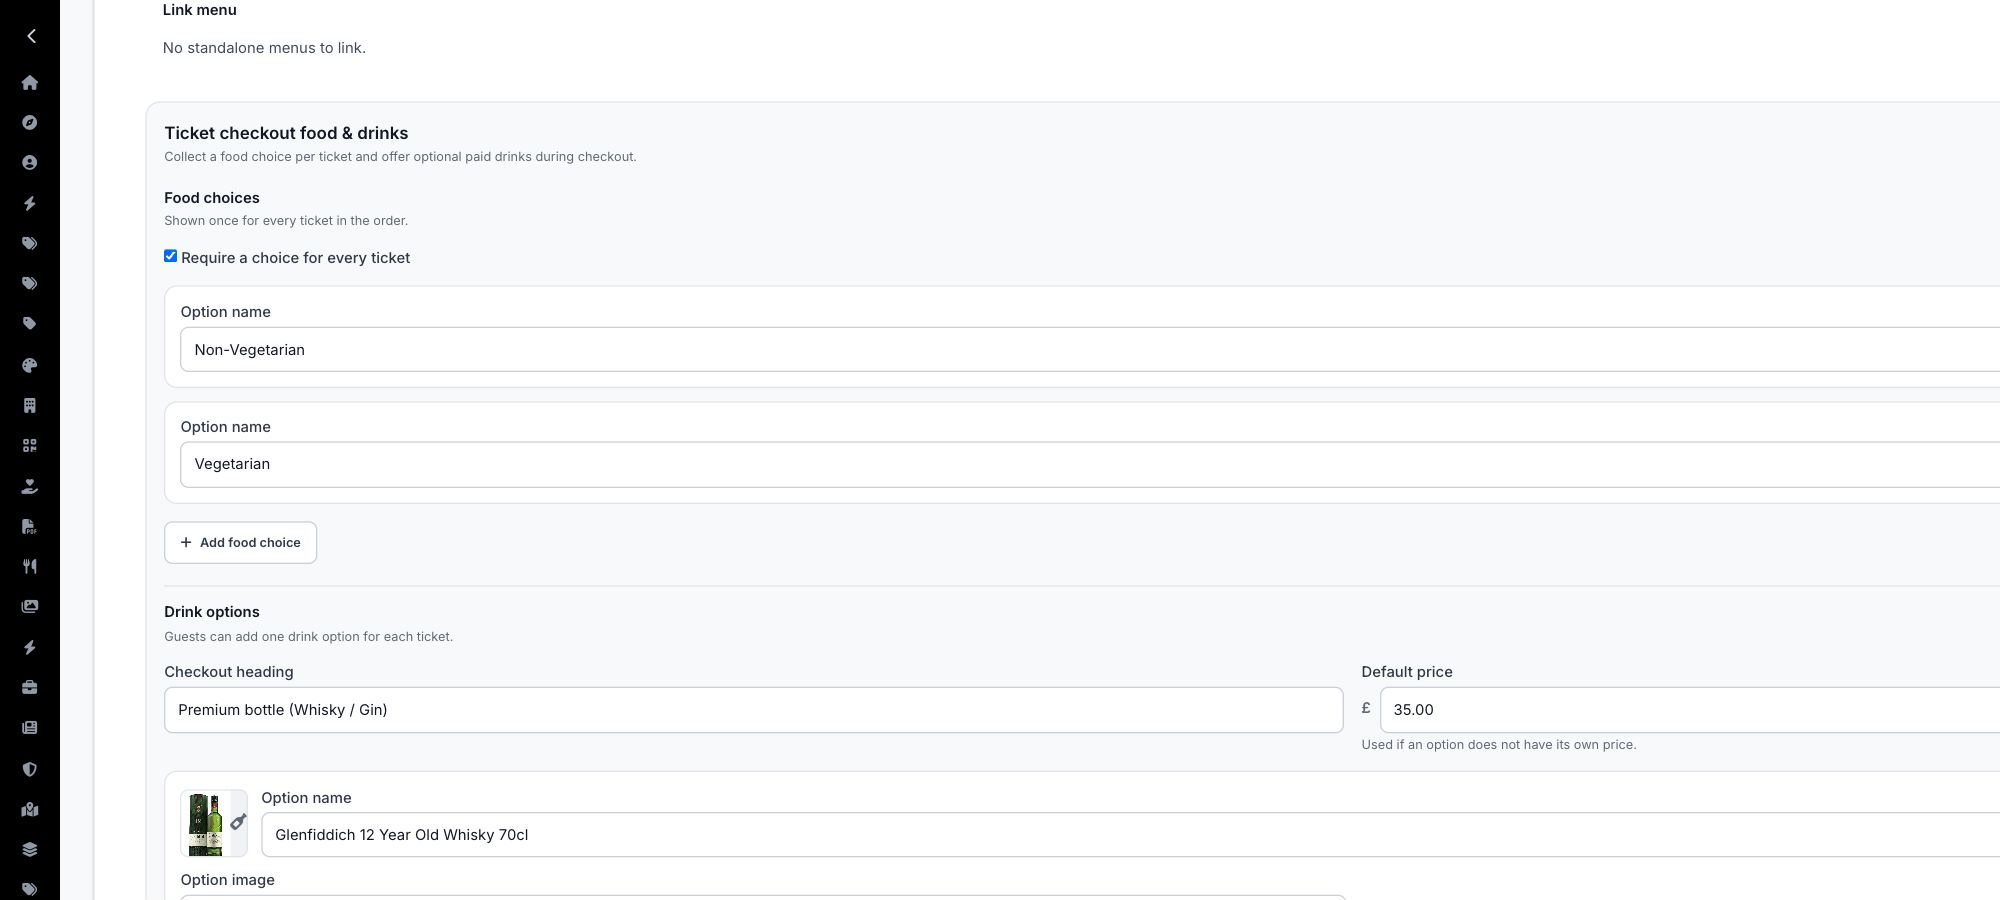
In the event's Menu section, find Ticket checkout food & drinks. Enable food choices, add the short option names guests must choose between, and decide whether a choice is required for every ticket.
Use checkout labels that operations staff can recognise later. For example, use “Roast chicken,” “Mushroom risotto,” and “Children's pasta,” rather than “Option A,” “Option B,” and “Option C.”
Add optional paid drinks
Enable drink options, set the checkout heading, then add each drink's name, price, and optional image. The default price is used only when an individual option has no price of its own. Confirm that drink pricing and fulfilment are appropriate for the event.
Test the per-ticket experience
Open Private checkout preview, add more than one ticket, and verify that each ticket receives its own food choice and optional drink. Make sure required choices block progress until completed and that paid additions change the order total correctly.
Checkpoint
The public menu should be readable, checkout choices should match the catering list, and a multi-ticket test order should collect the correct selection for each guest.