Build the room layout only after confirming ticket capacity and the venue's usable arrangement. A saved seating plan becomes the capacity and allocation foundation for a seated event.
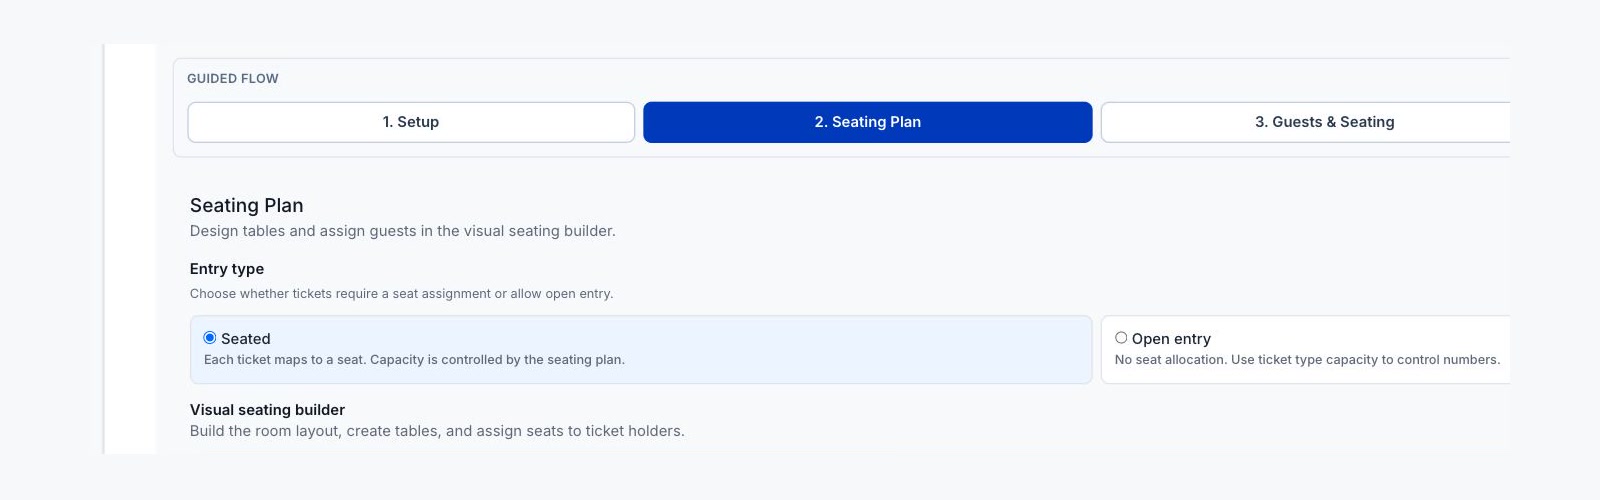
Open the builder
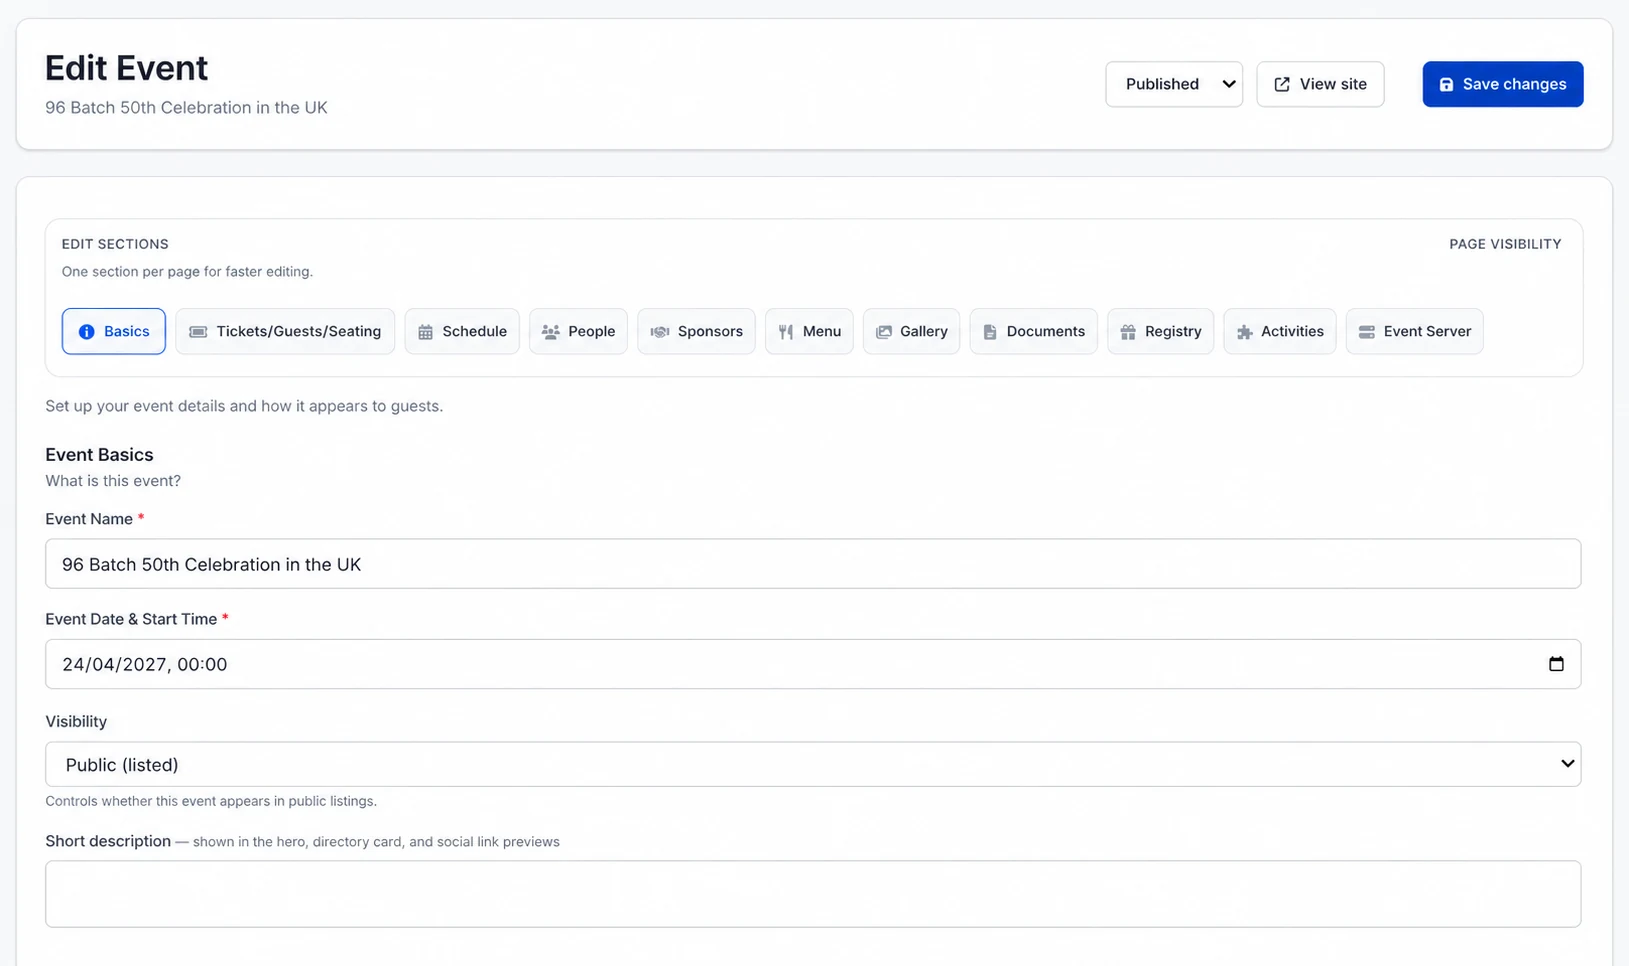
Open the event, select Tickets/Guests/Seating, move to Seating Plan, and choose Open Seating Builder. Confirm that the event is using Seated entry if every sold ticket needs an assigned seat.
Create the layout
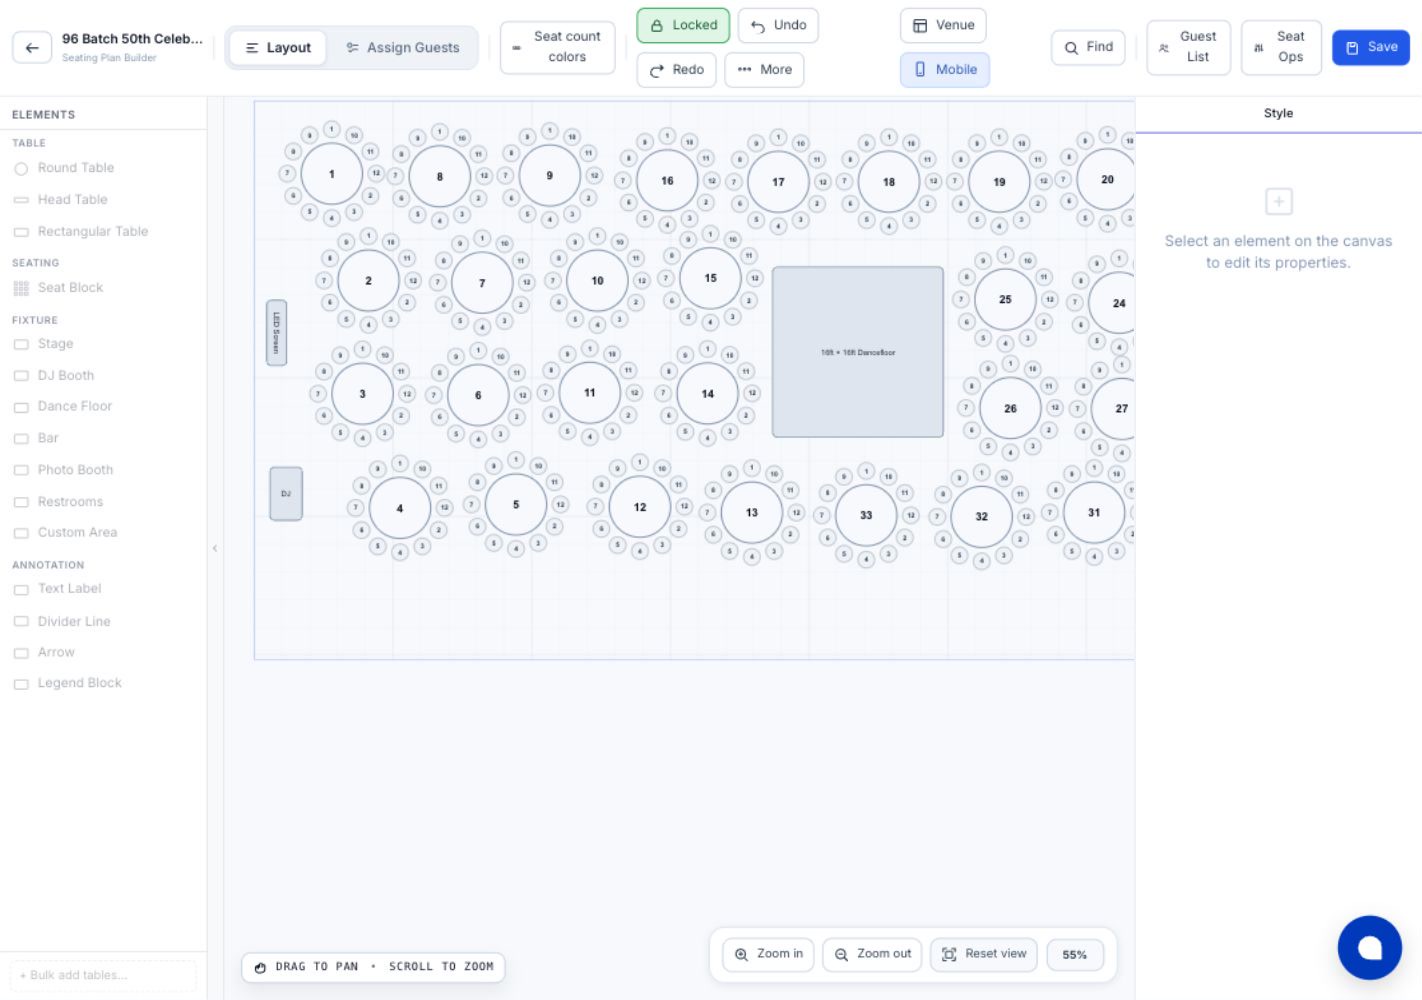
- Stay in Layout mode.
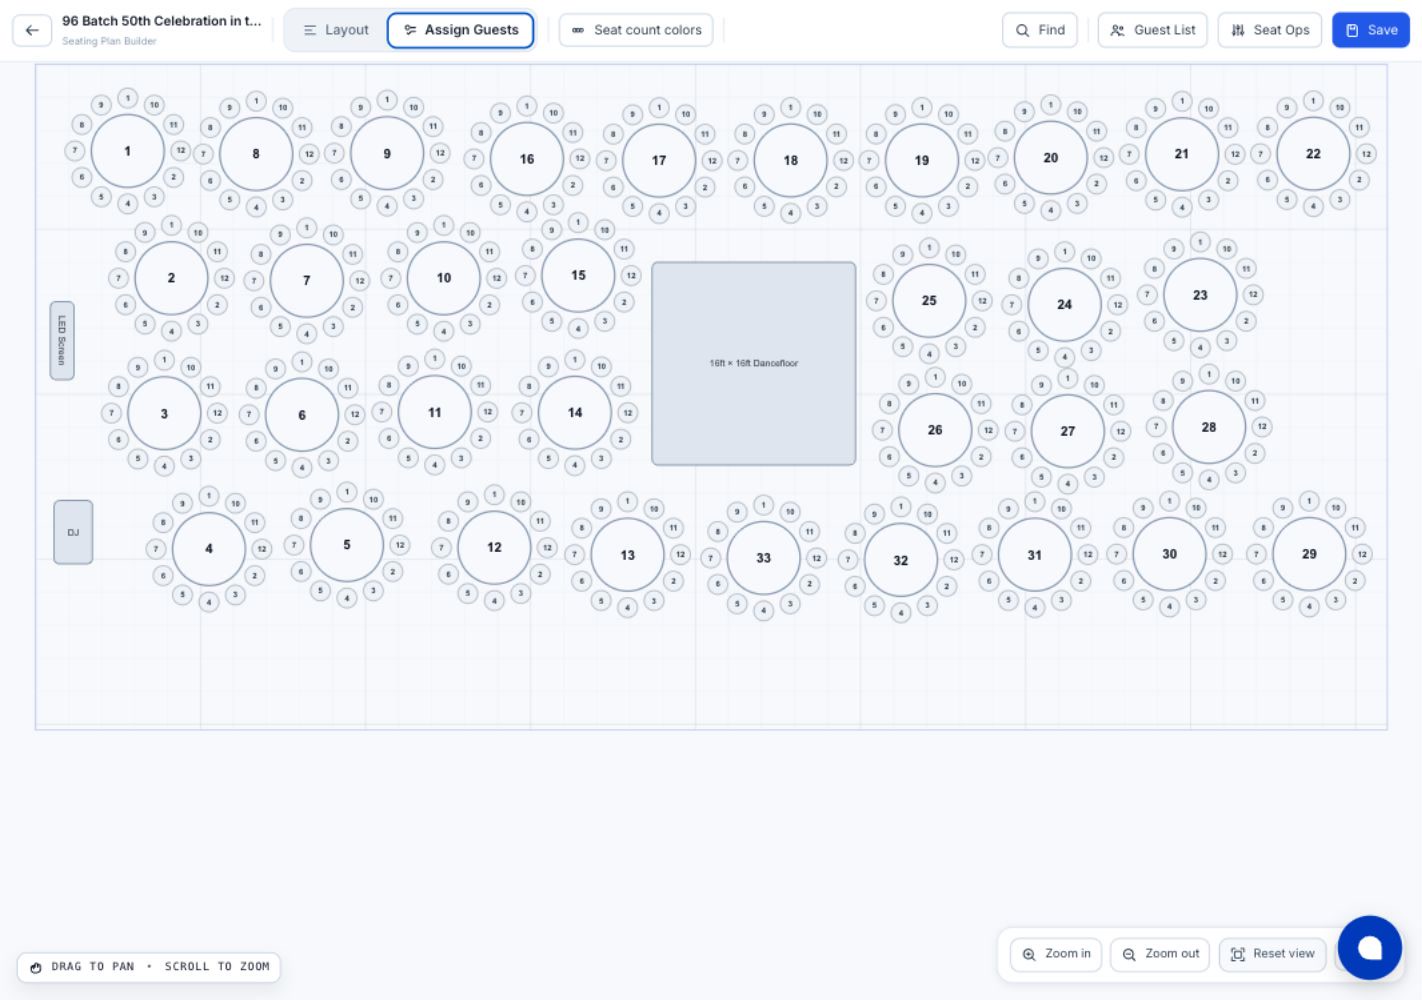
- Add round or rectangular tables, seat blocks, and useful fixtures.
- Give every table or block a unique operational label.
- Set the number of seats and position the objects to match the room.
- Add stage, aisle, entrance, screen, or access references where they help staff and guests.
Apply booking rules
Where appropriate, associate tables with compatible ticket types. Choose the seat-selection mode needed for the table, and use Reserved for when a whole table or block must be held for a named party or organisation.
Reconcile capacity
Count usable seats, not decorative or blocked seats. Compare that total with every active ticket type, remembering that one family or table ticket can represent several seats. Leave operational contingency seats if the venue requires them.
Save before assigning
Choose Save in the seating builder. Newly created seats need saved identifiers before manual guests can be created and assigned. Reopen or refresh the builder if you want to confirm the layout persisted correctly.
Optional public plan
Back in the event editor, enable the seating page and Public seating plan only if guests should see the floor plan without buying. Do not expose internal reservations or allocations unintentionally.
Checkpoint
Every table has a clear label, the usable seat total agrees with ticket capacity, restrictions are correct, and the layout has been saved.