Ticketing setup determines capacity, pricing, buyer information, payment collection, and whether seats are selected. Configure it before building the final seating plan.
Choose guest-list or ticketed entry
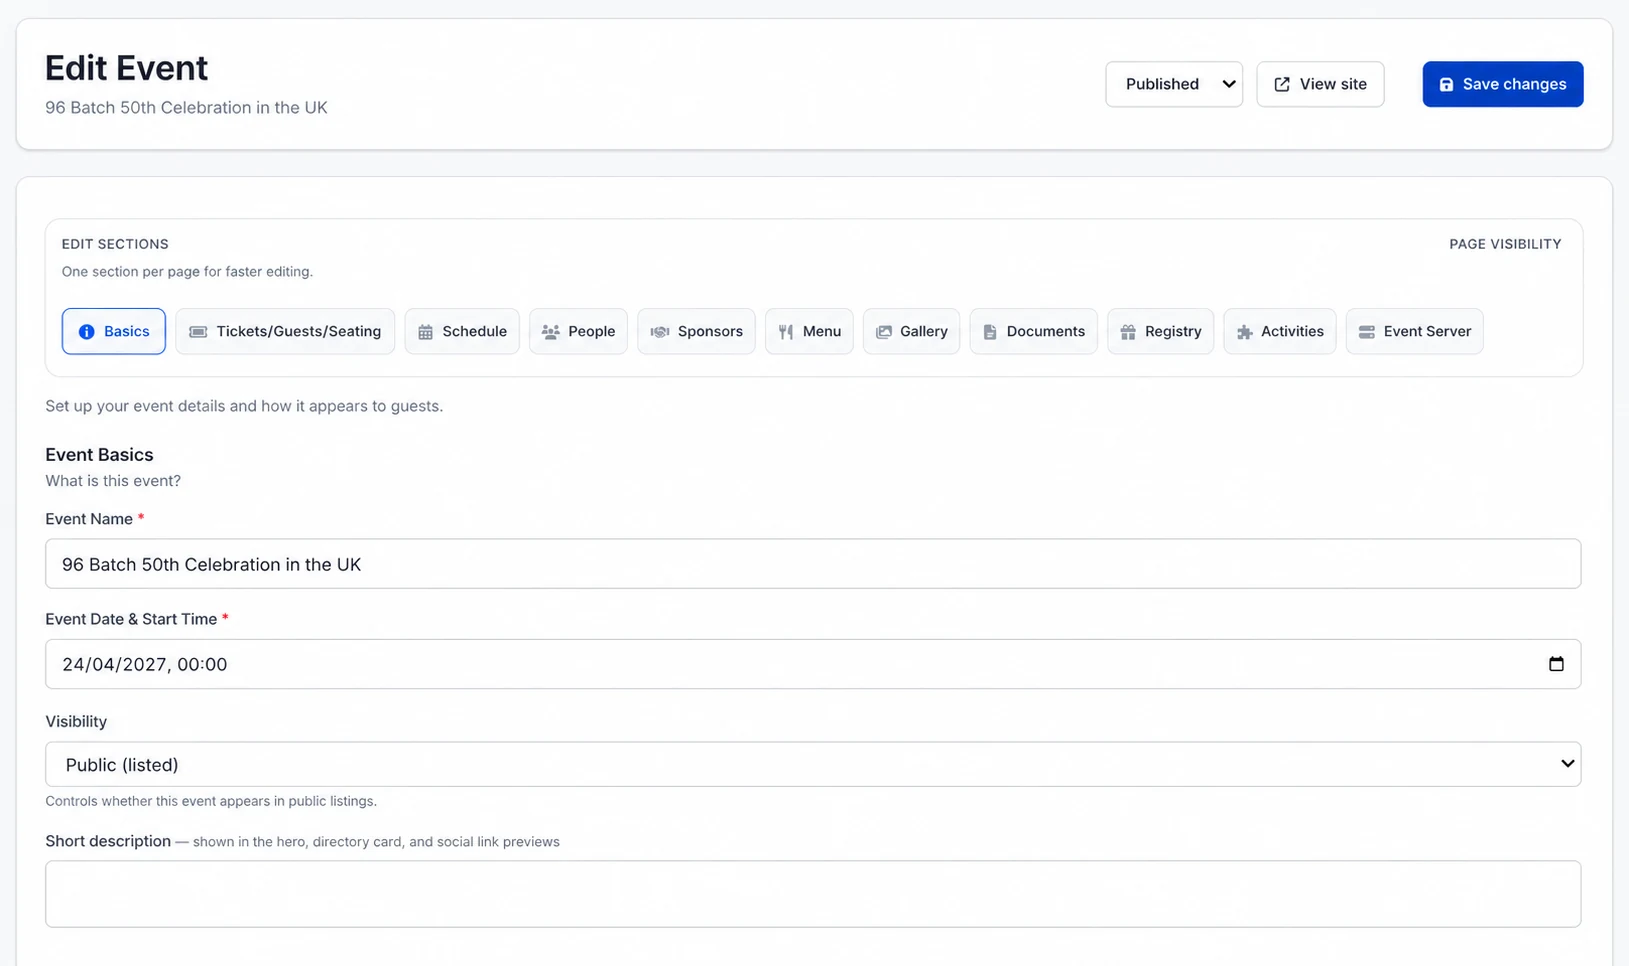
Open the event and select Tickets/Guests/Seating. Use guest-list mode for invitation or RSVP workflows. Use ticketed entry when guests select a ticket type and complete checkout.
Create ticket types
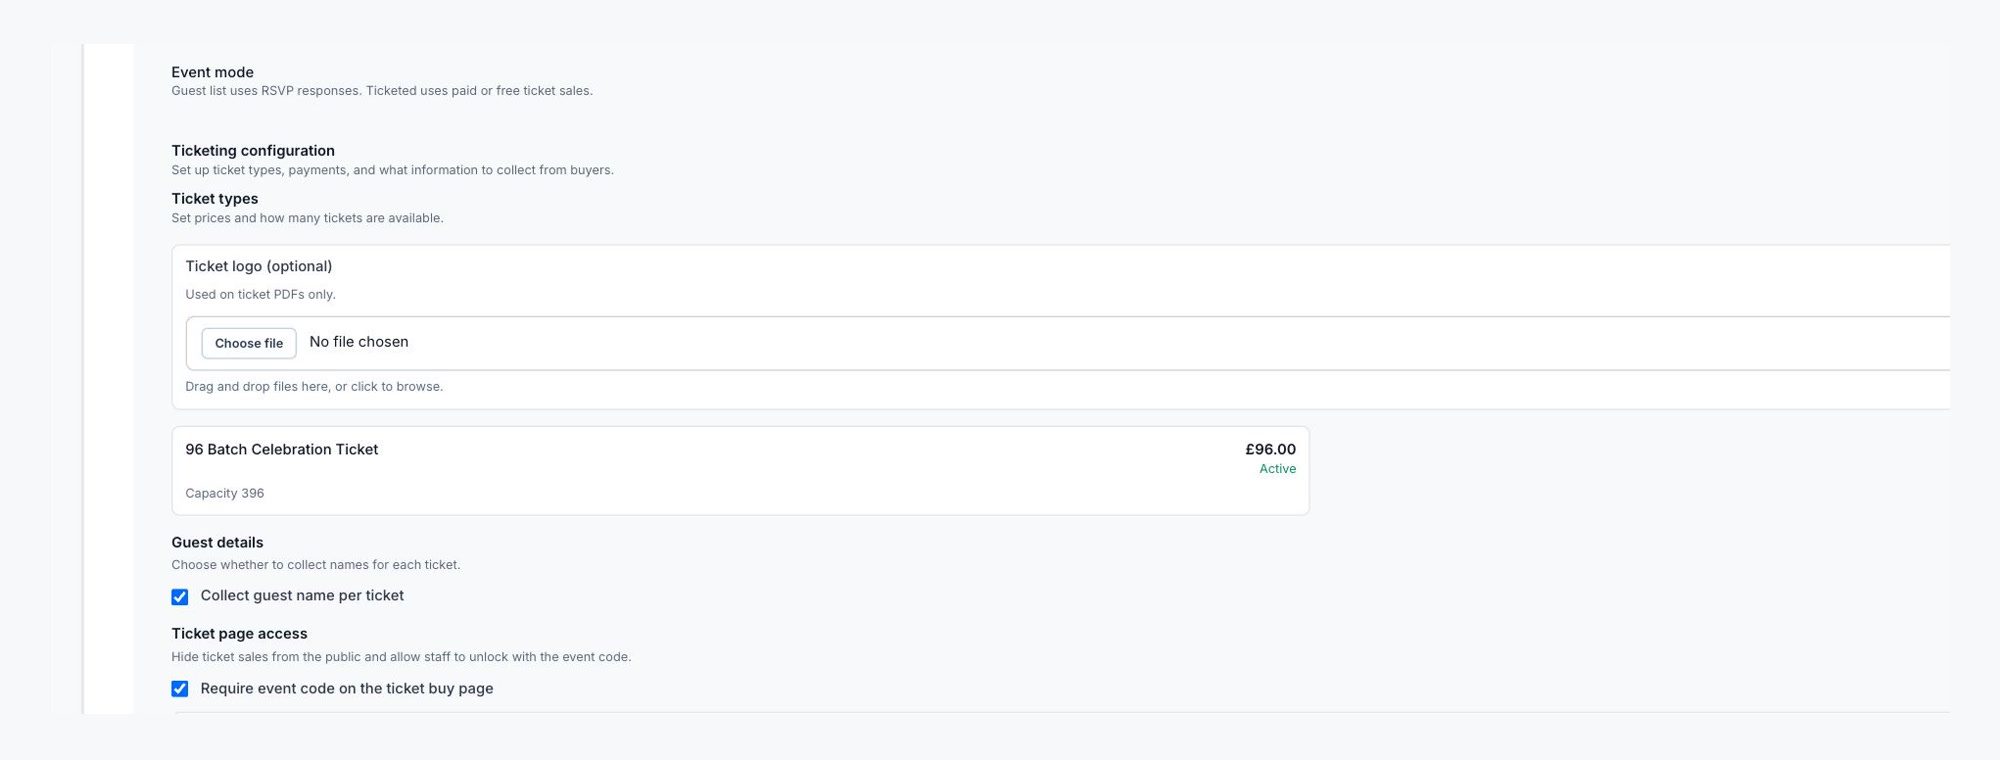
Choose Manage ticket types and create each product guests can buy, such as Adult, Child, VIP, Family, or Full Table. For each type, verify:
- Name and guest-facing description.
- Price and currency.
- Available quantity or capacity.
- Sales start and end dates, if used.
- How many seats one ticket represents.
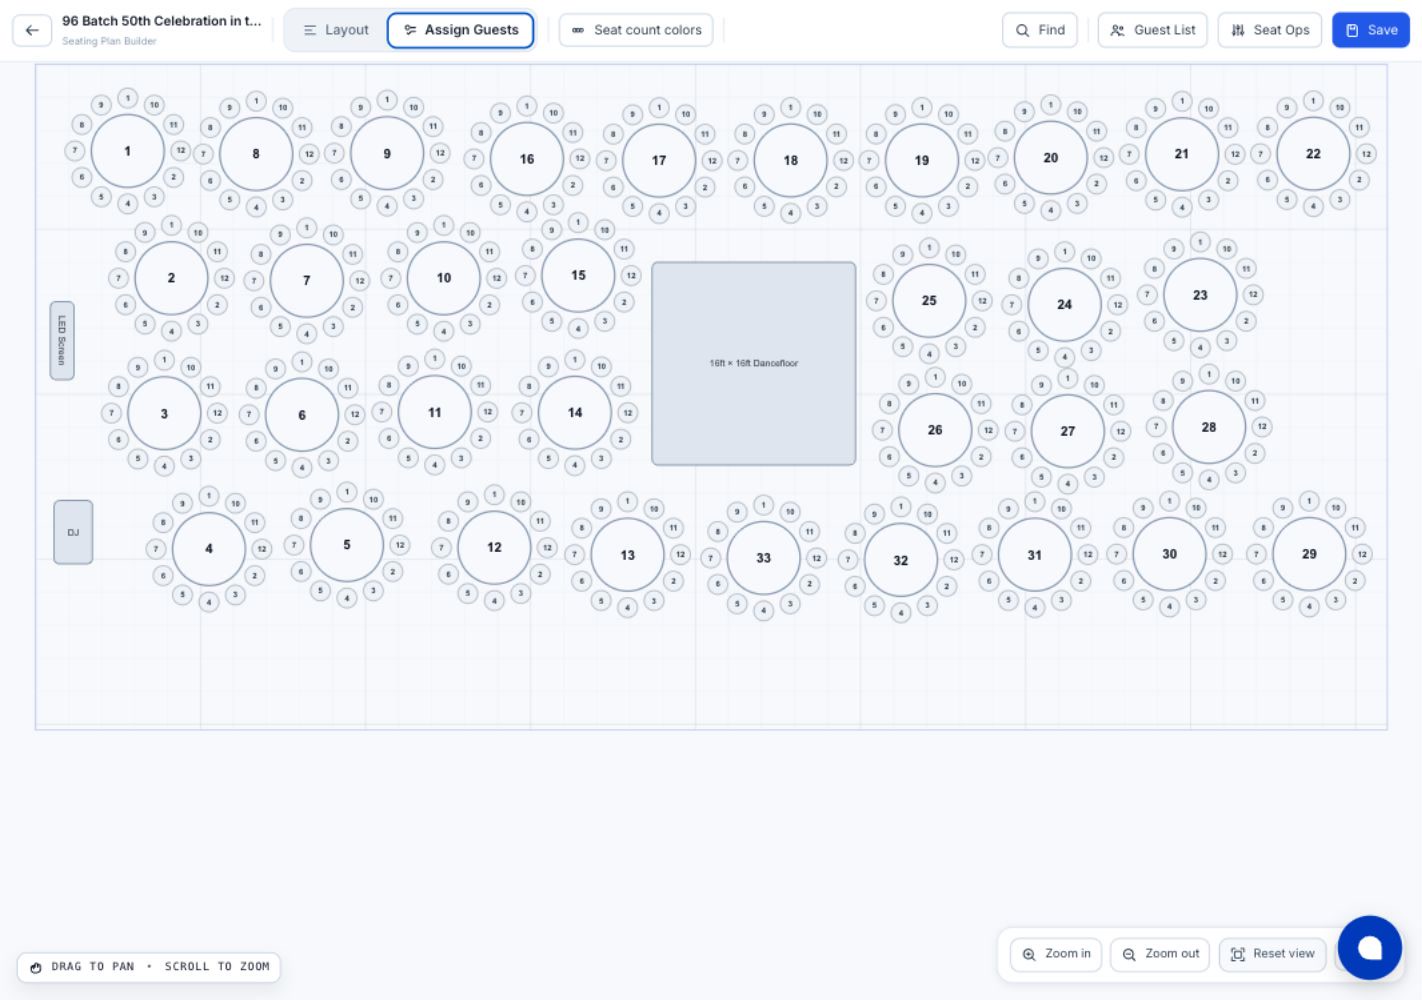
A family or table ticket may represent several seats. Include those seats when comparing ticket capacity with the seating layout.
Choose seated or open entry
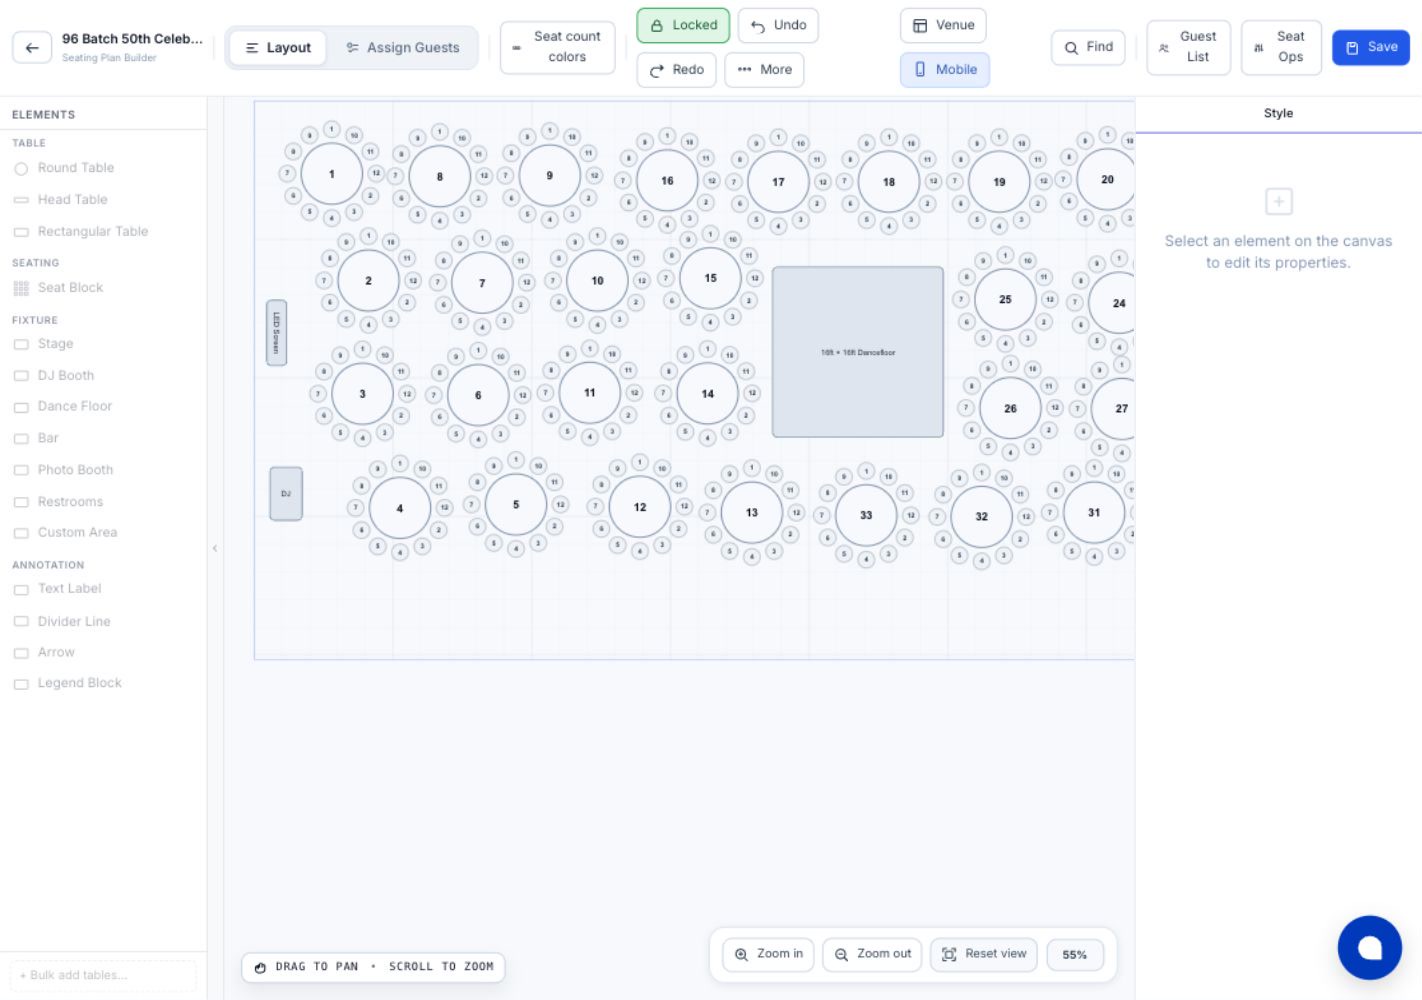
- Seated: each ticket maps to a seat and capacity is constrained by the seating plan.
- Open entry: no seat allocation is required; ticket-type capacity controls numbers.
Configure checkout and payment
Decide whether to collect a name for every ticket. Confirm the ticket prices and available payment methods, and make sure Stripe payout setup is ready before selling. If bank transfer is enabled for the event, confirm the displayed bank instructions and the seat-hold duration.
If ticket sales should not yet be public, enable ticket-page access protection or keep the page hidden. Staff access links should only be shared with the intended team and revoked when no longer needed.
Preview before seating work
Open the private checkout preview. Confirm that every ticket type is visible at the correct price and that sold-out or unavailable states behave as expected.
Checkpoint
Proceed when ticket products, capacities, payment readiness, guest-name collection, and seated/open-entry mode are correct.