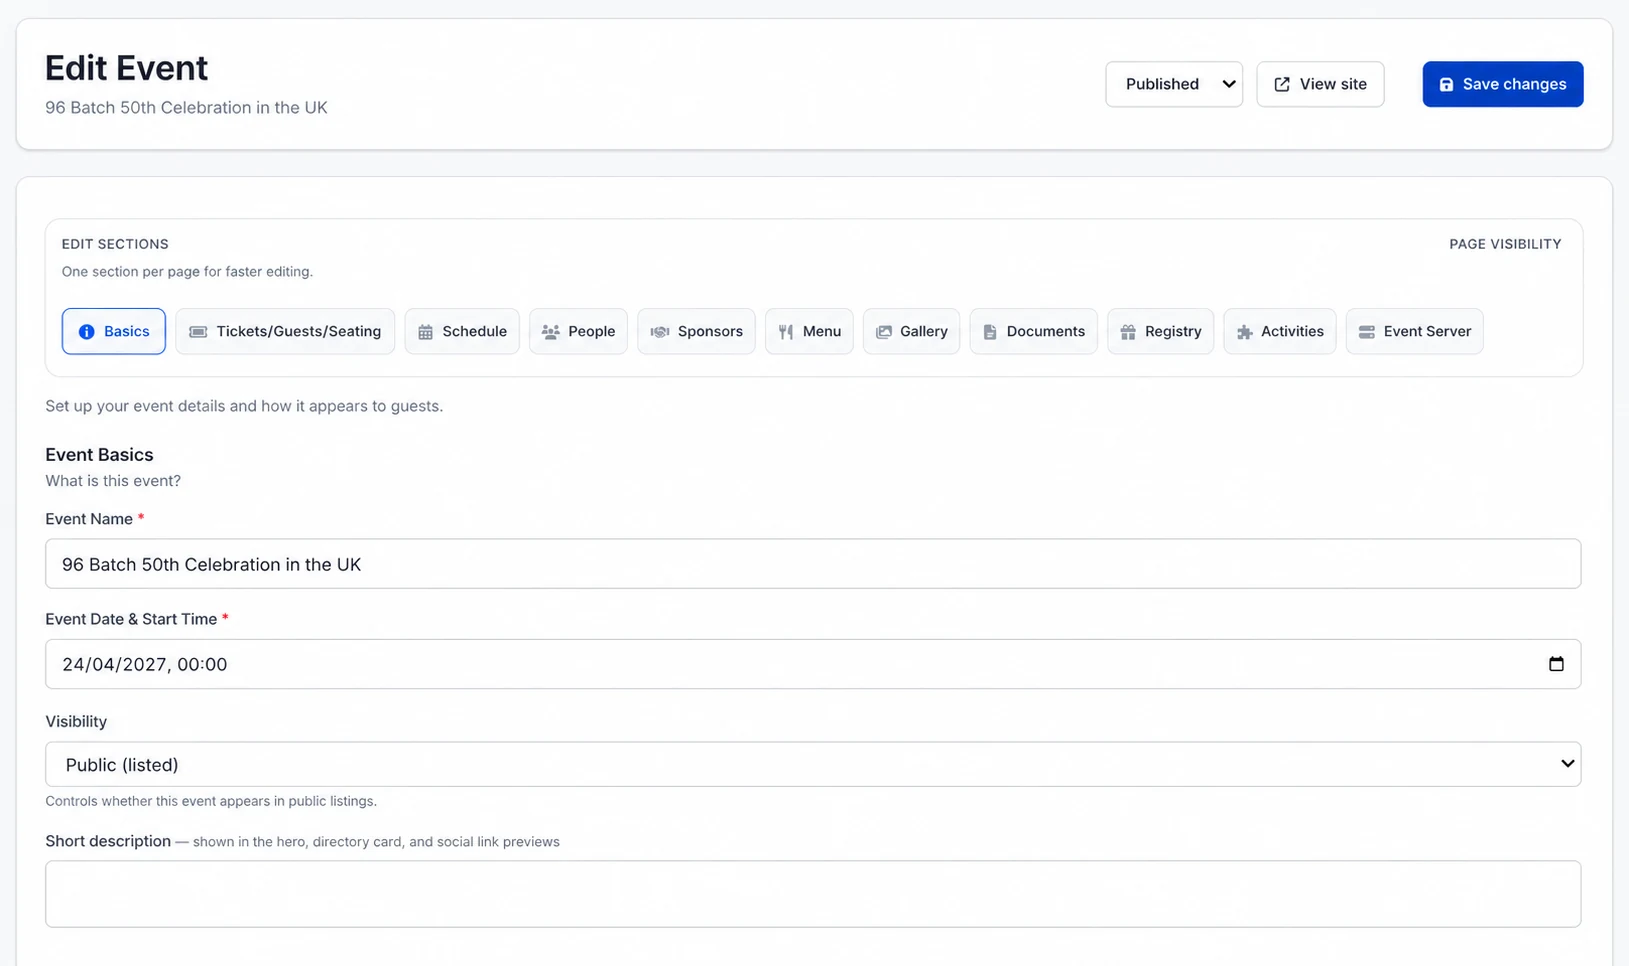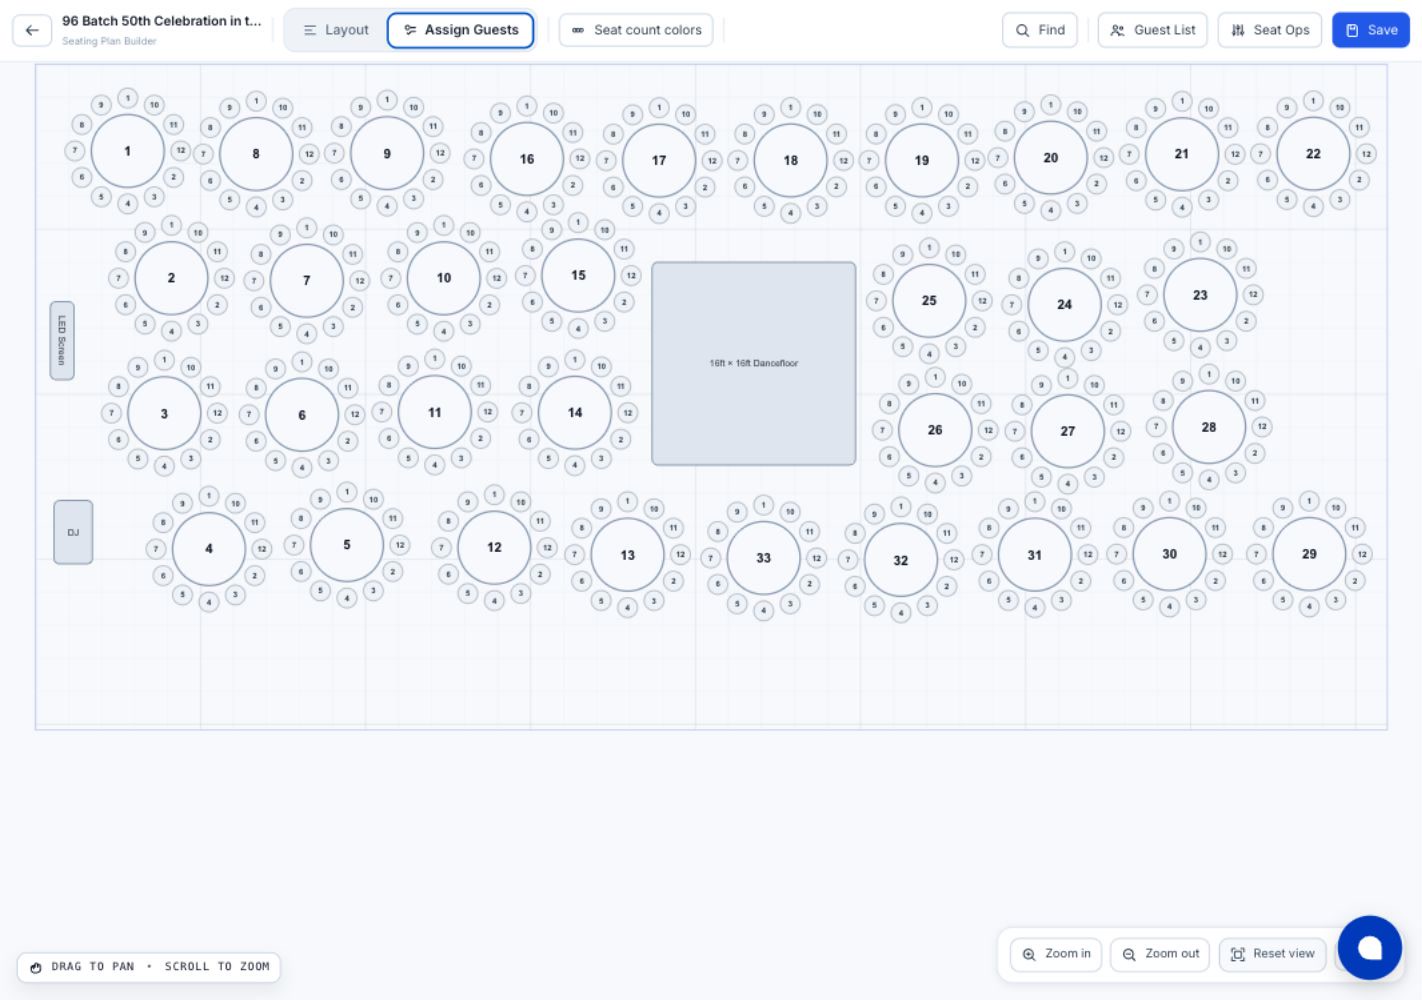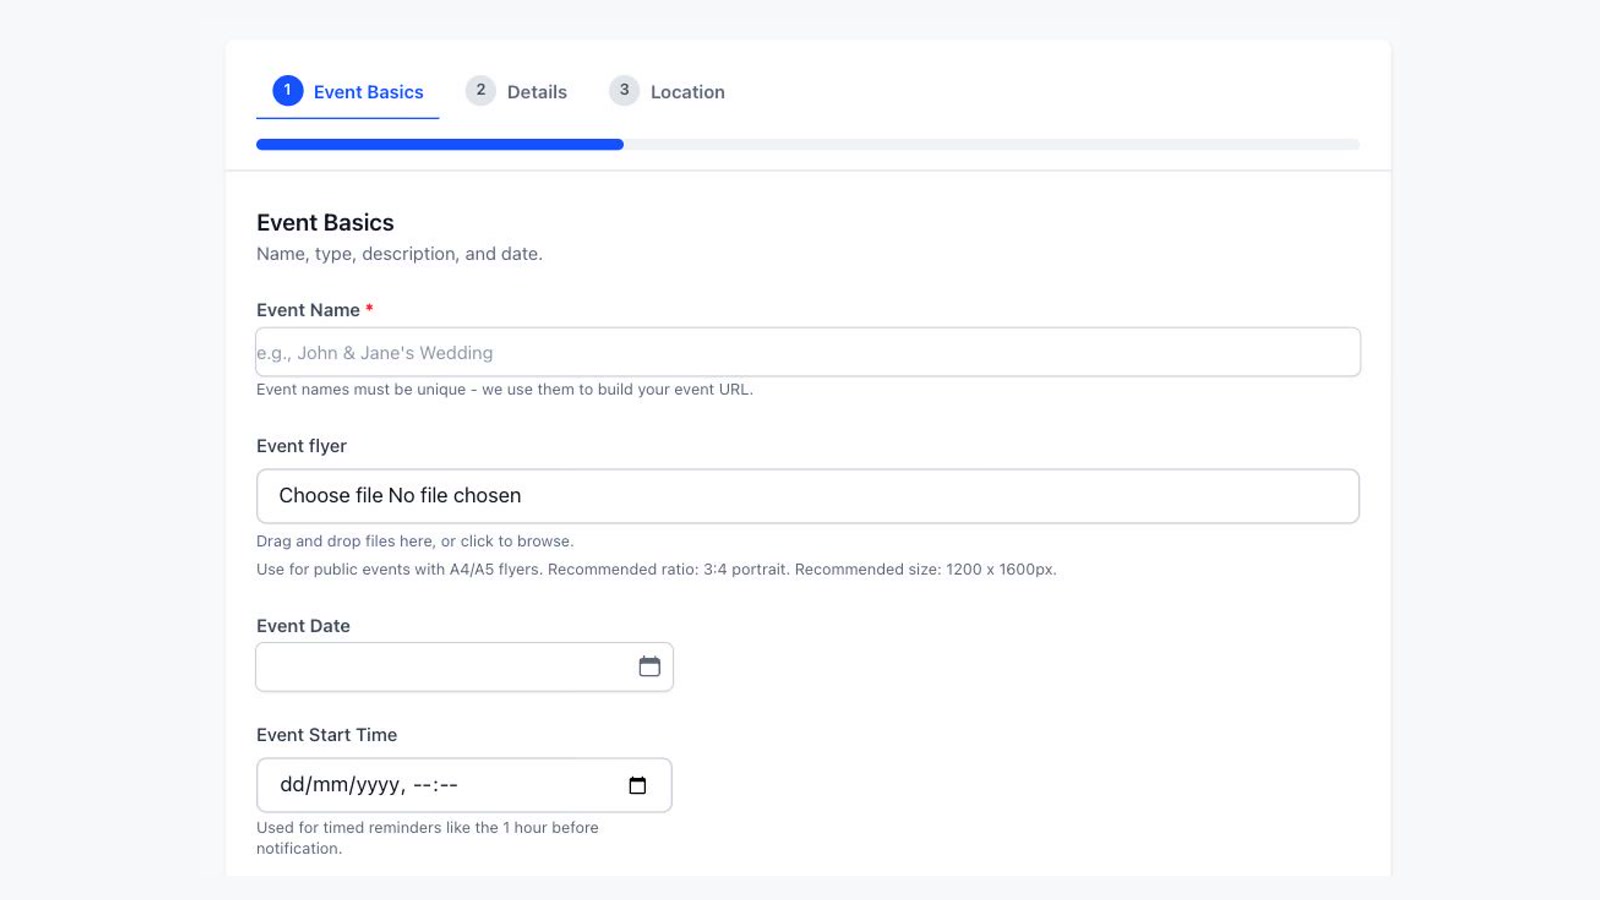
This guide is the complete ShareLynk event workflow. Use it as your checklist, then open the focused guide for any stage where you need exact decisions and verification steps.
Before you start
Prepare the event poster, confirmed date and venue, ticket prices and capacities, menu choices, room dimensions or a table plan, and the name of the person responsible for approving the final checkout. Keeping the event as a draft while you configure it prevents guests finding an incomplete page.
1. Create the draft from your poster
Open Dashboard → Events → Create event. Under Create from a poster, upload a JPG, PNG, or WebP poster. ShareLynk creates an unpublished draft and extracts likely details from the image. Review every extracted field; the poster remains the source material, not an approval step.
Read the poster import guide →
2. Complete the event details
In Basics, confirm the event name, public URL, description, date and time, venue, address, category, tags, languages, event imagery, and site visibility. Save before moving to another section. Use View site to check the public result on both desktop and mobile.
Read the event details guide →
3. Choose the guest and ticketing model
Open Tickets/Guests/Seating. Decide whether the event uses a managed guest list or public ticket sales. For ticket sales, create each ticket type with the correct price, capacity, sales window, and number of seats represented by one ticket. Choose Seated when every ticket must map to a seat, or Open entry when ticket capacity alone controls attendance.
Read the tickets and checkout guide →
4. Configure menus and checkout choices
The public event menu and ticket-checkout choices are separate:
- Public menu: a linked menu guests can browse from the event site.
- Checkout food choices: one choice collected for each ticket.
- Checkout drink options: optional paid extras added per ticket.
Build and link the public menu first, then configure food and drink choices in the event's Menu section. Preview checkout before accepting orders.
Read the menu and checkout-options guide →
5. Build the seating plan
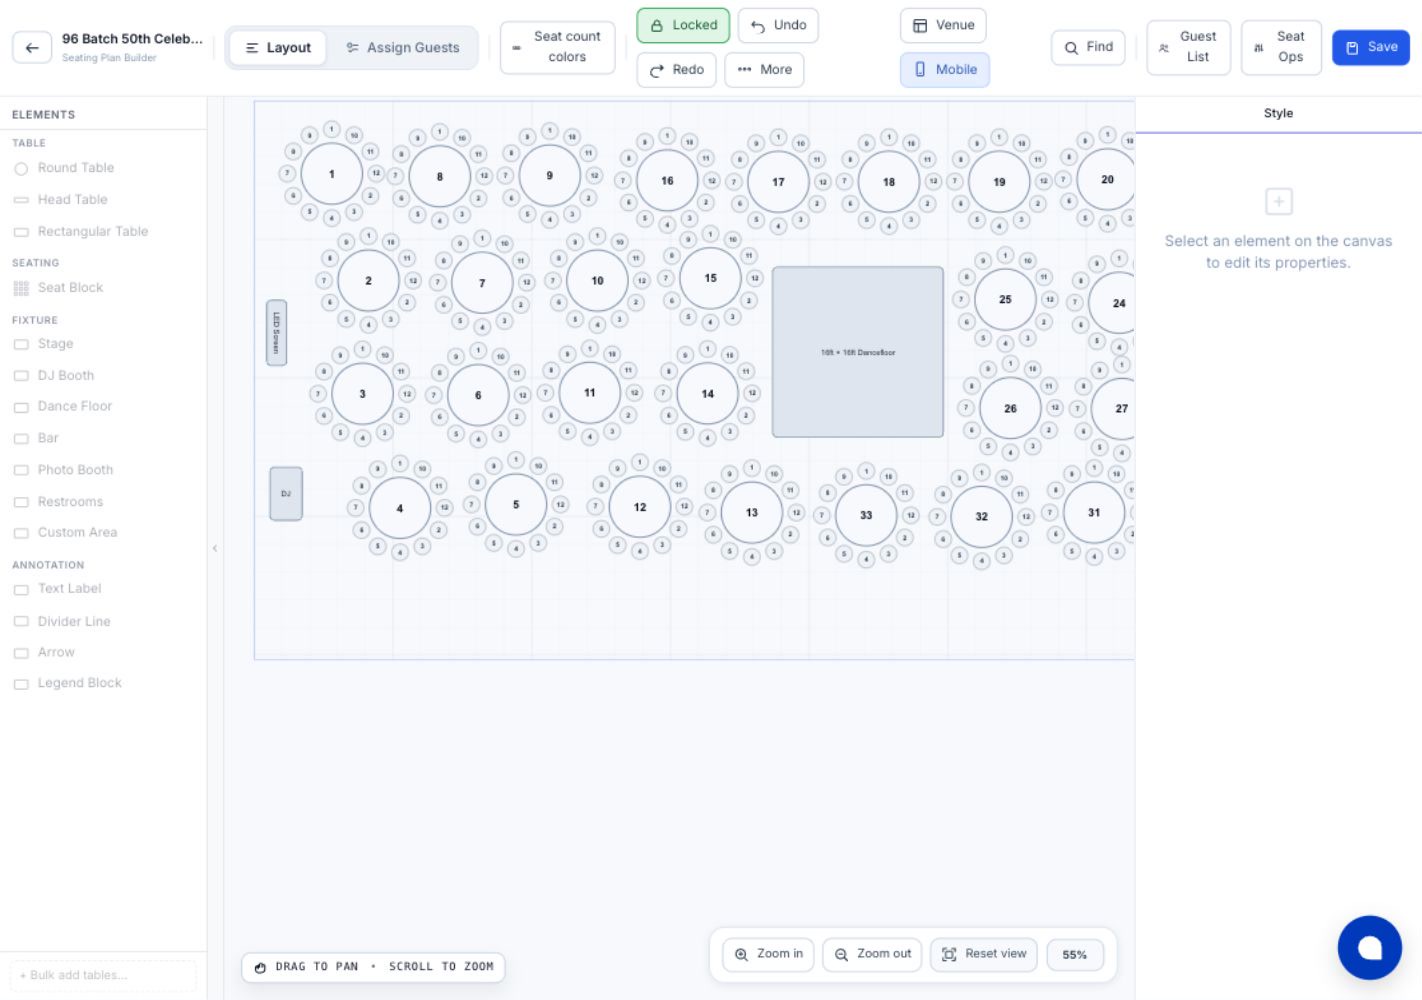
From Tickets/Guests/Seating → Seating Plan, open the visual seating builder. In Layout mode, add and label tables or seat blocks, set seat counts, apply ticket-type restrictions where required, and mark reserved areas. Save the layout before assigning anyone.
6. Allocate guests and tickets
Switch the builder to Assign Guests. Select a table and seat, then choose an existing guest or create and assign a manual guest. Use Guest List and Seat Ops to find unallocated tickets, move a guest, swap two guests, or exchange whole table assignments.
Read the seating-allocation guide →
7. Test the guest journey and launch
Use the private checkout preview to test ticket types, food choices, drink pricing, buyer details, seat selection, confirmation, and the event site navigation. Check payment and payout readiness, page visibility, QR codes, and staff access. Publish only after the complete journey works on a phone.
Completion checklist
- The poster and public event details agree.
- Ticket capacities do not exceed usable event capacity.
- Checkout choices match what the venue can provide.
- The seating layout is saved and allocations are auditable.
- A test buyer can complete the full mobile journey.
- The event is published and its QR code opens the correct page.